Tuesday, February 14, 2017

Victorian shirt


My son is a real problem when it comes to dreaming up presents for him.  He doesn’t want to accumulate “stuff” because he pulls stakes and moves quite often, and all his belongings have to fit into the back of his truck.  He’s at the other end of the country, and sending “stuff” very often costs far more than the “stuff” is worth.  There’s not a whole lot I can get for him that he actually needs.  And so – there are clothes… made by Mum.  Come to think of it, he probably doesn’t need much in the way of clothes, either, because he mostly wears whatever goes for a uniform of whatever kitchen he’s presently working in.  This explanation is really getting far too long.  Suffice it to say, I put out “feelers” before Christmas, and this year (or is would it now be considered last year?? – whatever!) there was a hint of enthusiasm over another Victorian shirt.  
I made one about some two years ago That was a sort of trial run.  This version is a fine cream cotton.   
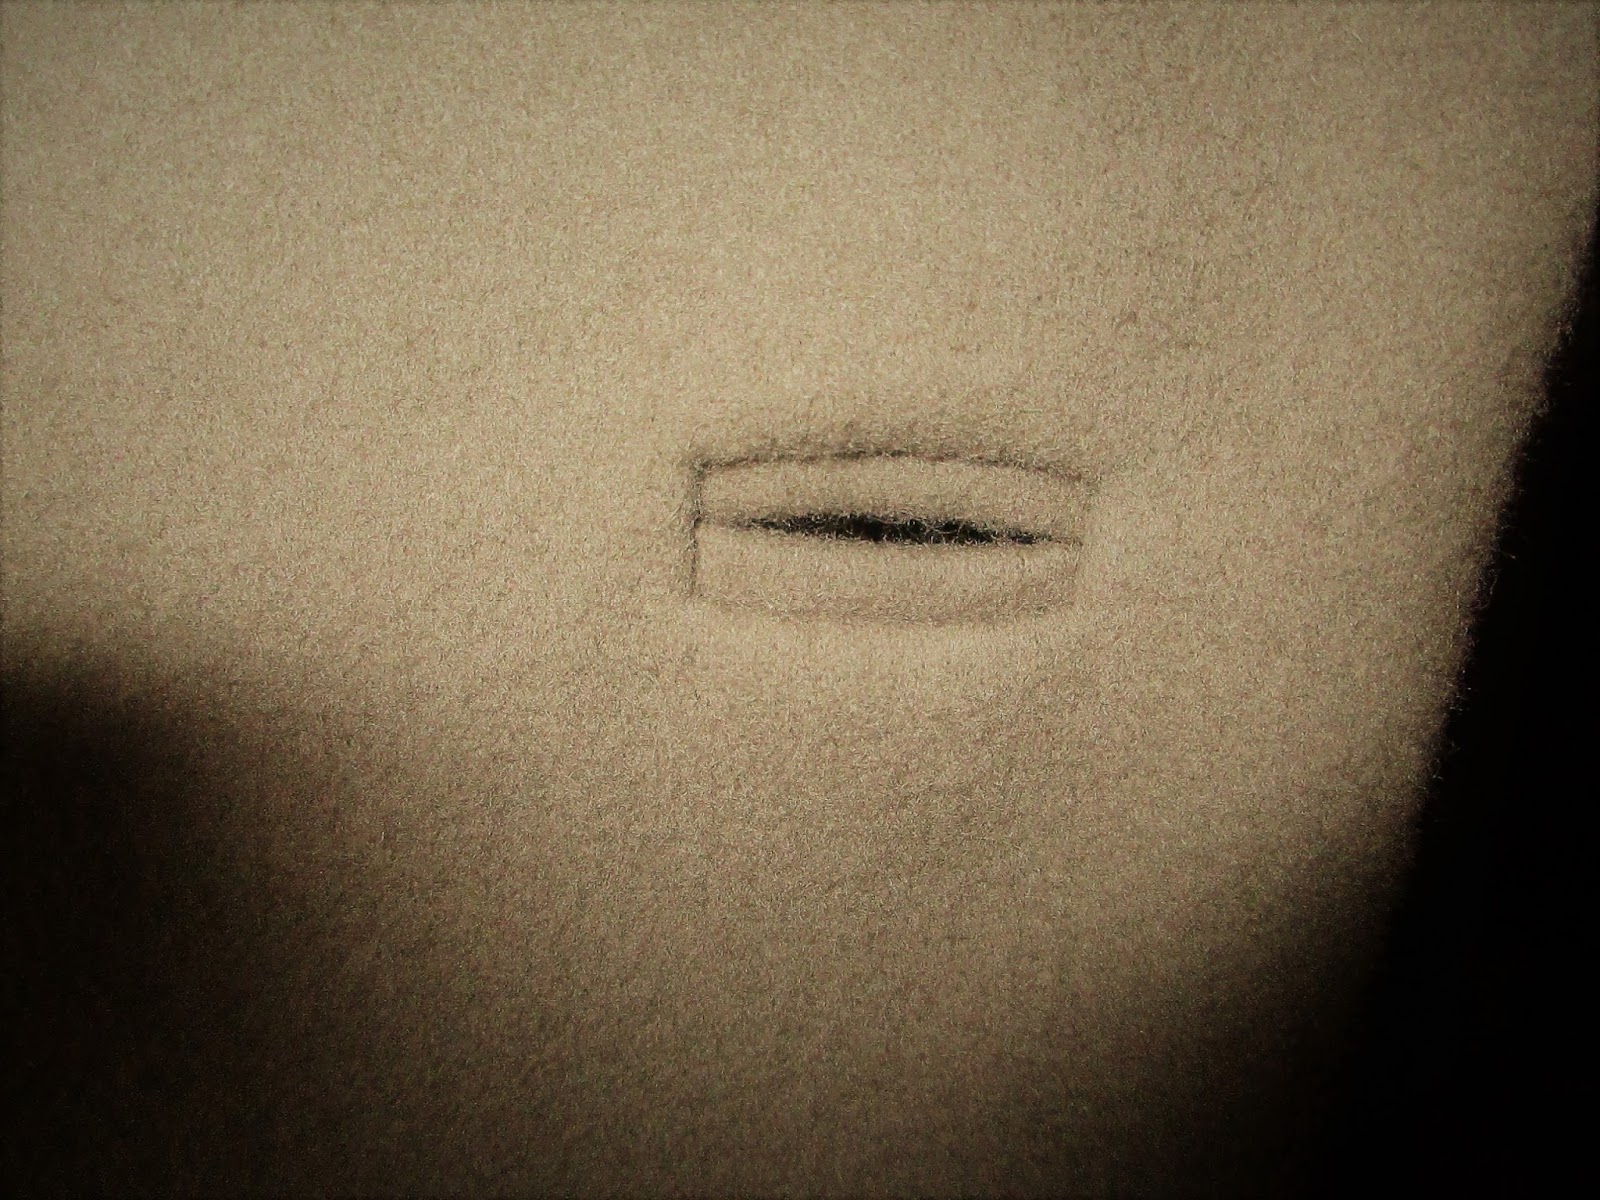
(Probably will never meet up with an iron again in its life, but here it is nicely pressed – ready to be folded up into a box and get crushed, and then I wonder why I spent so much time steaming and pressing.)  According to the pattern, the “slit”/vent is actually the underarm seam.  This puts the button on the cuff on the underside of the wrist.  Not very comfortable if you’re leaning your wrist on a table to write, or (more probably) on a laptop to type.  So, shirt No. 2 also got an actual vent at the side of the sleeve.  This time I did not spend a lot of time toiling over an actual placket, but took the easy way out as you can see.  
Apparently, this is a comfortable style. (Certainly is roomy with all those pleats!)  I sort of like the front details of this shirt – wouldn’t mind one for myself, though I’ll probably have to graft the details I want onto one of my shirt patterns.  Even at the smallest size of this pattern, I think I’d get tangled up and lost in too much fabric.  The construction of the front is a little confusing, or may-be I just don’t get something.  It was confusing the first time around, and I obviously didn’t remember a thing a year later, because it was confusing all over again this time.  At the end, I did have a clean finish on the inside of the button placket as well as the outside.  I keep telling myself that it doesn’t matter how you get there, just so long as the end result looks good.

Thursday, February 9, 2017

A winter coat


I’m still here, still sewing.  Just a little hiccup in my intentions for regular blogging.
The coat…  The fabric and lining were given to me a few years back by a friend who no longer sews.  She’s much shorter than I am, and I knew there would be only enough fabric for a shorter coat.  Year in and year out I would look at patterns, come up with impossibly complicated schemes, and come spring, the fabric would be bundled up and put away for the summer.  Problem was, there were a few moth holes that had to be dealt with.  I couldn’t just toss the fabric – I just had to come up with a solution.  Last year I bought a new pattern. 
Vogue 9133
This past fall I finally kicked myself in the behind and decided to just lay out the pattern, cut the pieces, then deal with the moth holes.  At the Creativ Festival in Toronto I picked up some squares of wool, sold for wool applique.  That’s when the decision was made to simply cover up the offending holes (there really weren’t that many) with applique.  And so the ball got rolling and before the snow began to fly I actually had a new winter coat.  I must say, though I’m rather partial to long coats (keeps the legs warmer), this shorter length is certainly much more convenient for such mundane things as getting in and out of the car.
On the technical end…  The pattern is for an unlined coat.  (That just doesn’t work for winter around here!)  So I added a lining.
  I also underlined in cotton flannel for added warmth.  The lining is flannel backed.  All in all, a rather warm coat.  Mind you, with all the added layers, the sleeves are a little tight, especially if I’m already wearing a jacket, but I’m still pretty happy with the results.  I opted for the in-seam pockets. 
With only one buttonhole to make, I held my breath and made it a bound one.  For the applique – I cut leaf shapes and started pinning them in place, making sure to start with the spots with bright red tailor’s tacks marking holes.  They were stitched by had with buttonhole stitch.  Guess I got a little carried away with the applique - it's a bit addictive - stitching my hand– and, well, I didn’t want it to look as though I was covering holes!


May-be I need one of these unlined, as the pattern was intended, for spring, but we’ll have to see about that.
That’s one more piece (actually 3 pieces – wool, cotton flannel, lining) gone from stash to closet.  Yeah!
I really do need to learn to stop making things so complicated in my head.  This coat could have been done years ago - literally. 


Sunday, December 25, 2016


Merry Christmas!      
Wishing all my sewing friends a very happy Christmas!
With all my love,
Irene