Monday, November 12, 2018

Leather wannabe


This is one of those annoying outfits that just have “something” wrong that keeps me from wearing it on a regular basis.

Made quite some time ago.  The fabric … a rather thin knit that wants to masquerade as leather.  I just had to have it.  Unfortunately, it’s a rather boring brown.  It became a 2-piece “dress”, because …. that’s so much more versatile than a real dress, right?  The top – my usual Pamela’s Patterns 
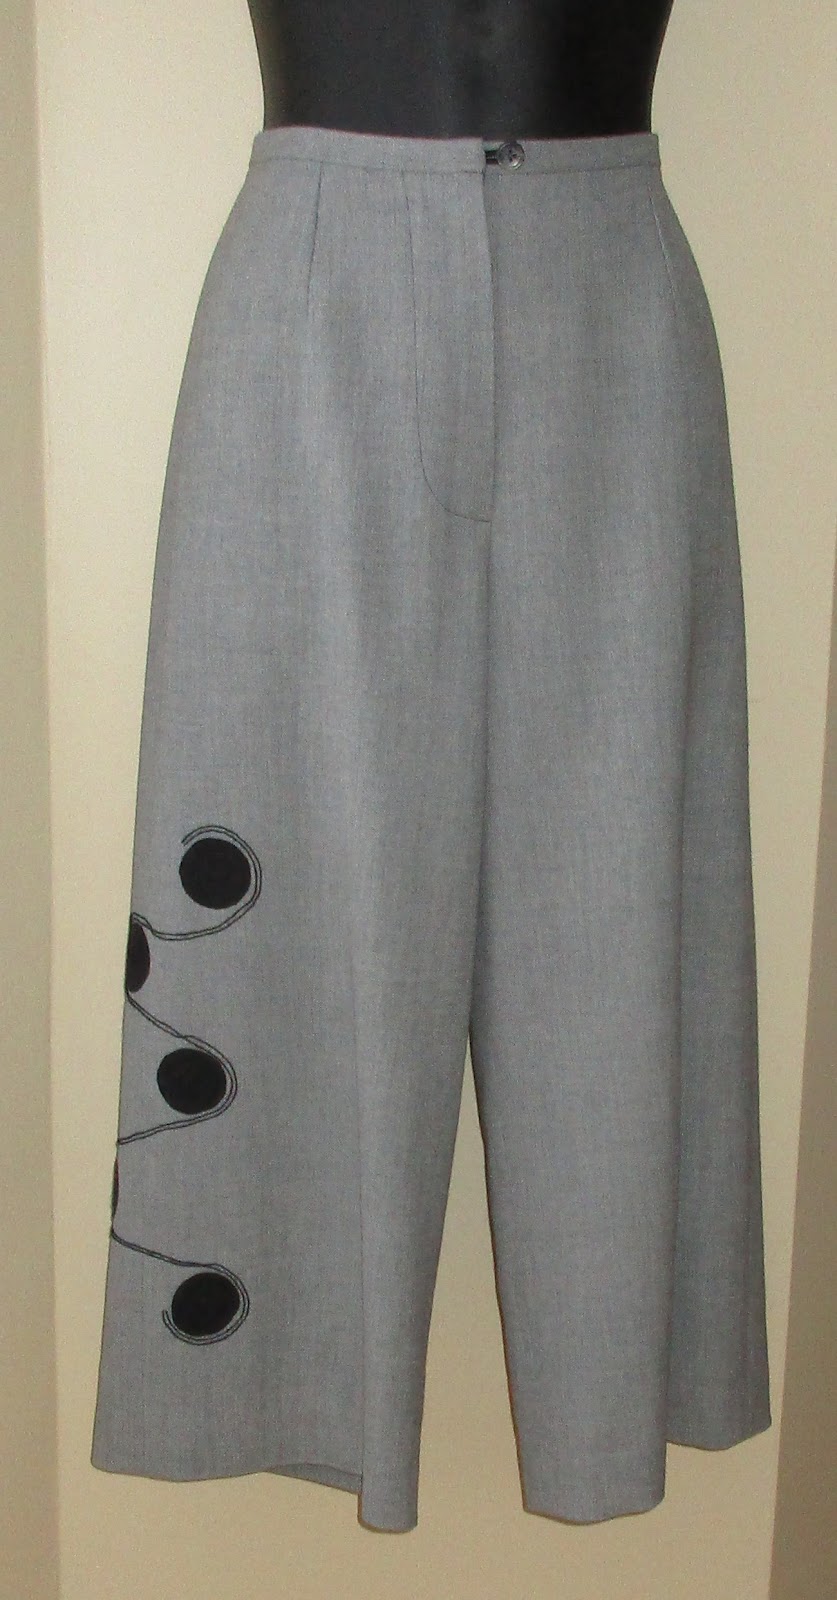
t-shirt.  The skirt – McCall’s 5523 (OOP, but still available).  I remember being thrilled that the fabric held a perfect crease for the pleats at the back.

Then I was not-so-thrilled that the zipper decided to sport a blip at the bottom despite all my precautions of interfacing the seam allowance, etc., etc.  No amount of steaming or any other tricks helped.  (If this was wool, that zipper bottom would have been PERFECT!)  Well, before I did any really serious damage to the fabric, I decided to just leave it alone.   I figured I’d always wear a jacket or cardigan with this skirt, so no-one would ever see my backside anyway.  The waistband decided to stretch out, despite my best efforts of interfacing and stabilizing.  No problem.  I just threaded an elastic through, to keep the skirt from sliding down to my hips.  I’ll just always wear a belt to cover that unsightly mess.  So far, so good.


What I had was a less-than-perfect, very boring brown outfit.  It needed some embellishment.  I came across some iron-on metal stud thingies.  An opportunity to use my gadget for applying hot glue crystals and studs!  Never mind that it took me – hmmm – a while to get up the nerve to actually apply the studs.  The thought that I might make an irreversible mistake with hot glue on the front of my outfit made me put off doing it.  Eventually I did get up the nerve.  I was not impressed with the fact that the glue actually seeped out beyond the edges of some of the studs.  OK – I can live with that.  Not too, too bad.   So you’d think that finally, with everything in place I could wear and wear this outfit – it works quite well with an “interesting jacket.  Not so.  Every time I wear these pieces, one or more of the studs come loose.  I’ve even lost a stud.  (Good thing I still have replacements!)  This is just downright annoying.  I think that I’ve figured out the problem.  The fabric is stretchy.  The studs – not so much.  Obviously the glue (despite my meticulous application) is not as strong/ doesn’t actually seep into the fabric to keep the studs really permanently in place.  So – lesson learned.  Hot glue embellishments are best left for woven (non-stretchy) fabrics (but I think I'll leave my clothes alone).  I would have probably been far better off with sewn-on embellishments.  Peeling off the studs will only leave unsightly spots.  I’ll wear these pieces in a pinch, but they’re definitely not a favourite.  I hate having to go through the day worrying about having bits of metal raining off of me.  I obviously need to stop acquiring fabric because it looks/feels “neat”.


Thursday, November 1, 2018

Kwik Sew 4162


After months of radio silence – I’m back.  I won’t go into long explanations.  Let’s just say that I needed a break from life.  I meant to start back to blogging in September.  That didn’t happen.  October.  Didn’t happen.  Then I saw Faye’s post about blogging every day, and today is November 1st, and somehow that really put the firecracker under me to get going.  Now don’t expect miracles around here.  “Every day” is highly unlikely.  Even though quite a lot of sewing happened in the interim, there are the pictures to get caught up on.  The weather is so lousy these days, I’m beginning to forget what sun looks like, so I’ll be playing around with taking pictures in less than stellar conditions.  Once again – don’t expect miracles.  I’m trying to get over my perfection streak, and I’ll just have to live with less-than-perfect pictures, so long as they pretty well show what’s what.  So without much further ado…
K4162

When Joyce was closing up the sewing shop in March, you can imagine the prices on everything were just too good to be true, and despite trying to refrain from cluttering up the pattern drawers at home, quite a few Kwik Sew patterns did come home with me – mostly jackets, if I remember correctly.  This one isn’t exactly “my thing” going by the pictures on the envelope.  On the other hand, it’s a simple cardigan jacket for wovens, with bust darts on the front (I disappeared said darts, because I don’t need them) and darts in the back and just enough shaping that the whole thing doesn’t hang like a box.

I used a suedey (is that a word?) knit – much too soft for a jacket, so I fused knit interfacing to every piece.

I added a pocket, because how often do I say - “What idiot didn’t put pockets in this jacket?”   Oh, and I had this one metal zipper with the cutest pull tab, and it needed a place to go.  Too bad I didn’t have two matching zippers, but … one pocket is better than none.
I made one crucial mistake.  I fused the interfacing to all the pieces once they were cut.  My fabric shrunk lengthwise.  Should have block fused before cutting, and then there would have been less cutting, but … I didn’t.  Live and learn.  I ended up having to add a facing to the hem to get the correct length of jacket.  The sleeves became “bracelet length”.  No big deal, but aggravating nonetheless.
Sorry - fuzzy picture 

I also added a lining.  Didn’t want to look at fused-on-knit-interfacing and it certainly helps with getting the jacket on and off.
Just for the record – this jacket was actually sewn in the late Spring.  We had cold weather for so long (before it became unbearably hot and humid) I just couldn’t switch over to summer sewing.  I popped in shoulder pads that were just a tad too thick, just because they were pre-made and I was being lazy.  Then (finally) came the hot summer and this jacket just hung and hung, waiting for me to replace the shoulder pads.  This week I finally succumbed – made some ¼ inch pads and … I have a wearable jacket.


We’ll see how this fabric performs.  A few years back, I made a t-shirt dress out of the same fabric (slightly different colour brown).  After a few washes, it became far too limp to wear as a dress.  The snakeskin print has all but washed out.  I cut it down to a tunic.  It might even get cut down further to a t-shirt.  It’s wearable, but…  This jacket is certainly not going to get washed, so we’ll see for just how long the fabric will look presentable.

Monday, May 28, 2018

The Orchid Dress

Some years back I decided that what I really needed was an easy summer dress - 2 main pattern pieces (front and back) and then, by changing necklines and sleeves/sleeveless options I would be happy.  I started with this pattern.
OOP, but available through some vendors on Etsy and EBay

It's ancient, but it fits all the categories - a front, a back and easy as can be.  Ha!  I started with a SBA.  Great - two less darts to sew.  I made up the dress and decided that I had to "try it out" for a while before I decided what else needed "fixing".  I was constantly tugging at it.  Felt like  I had to stand ramrod straight at all times or something just wasn't sitting right.  Not a dream dress at all.  Oh, well - too bad.  Then I fell in love with this fabric - amazing orchids.

It's a fairly heavy cotton sateen.  It just had to be a sheath dress, because there was nothing else it could be.  Back to the drawing board.  I pulled out the original dress, ripped seams, pinned, tugged, repinned.  Finally got it right.  Time to tackle the orchids.  Original pattern has a seam running down the back to make room for a zipper.  No way was I having a seam ruining my orchid on the back!

So- side zipper and buttons on one shoulder took care of how to get in and out of the dress.  No side slits for me - I turned it into a big pleat.

Ah - the zipper - after much thought and deliberation - I decided on a regular zipper - lapped application with hand-picked stitching.

Yes, an invisible zip would have been so much easier, but ... that would have left the zipper pull dangling under my arm.  Not pretty, I decided.  With this application, the zipper pull tucks neatly into its slot, and - an almost invisible zip.

Buttons are flat.  Do you know how it hurts when you have buttons with shanks on your shoulder and you then hang a bag on that shoulder?  Trust me - serious pain.  One really has to think these things through, otherwise comfort is definitely compromised.  The original dress is still in pieces - really must do something about that.
The orchids were to be my Easter dress.  The weather thought otherwise, so this turned out to be a Pentecost dress.
Should have perched the camera higher up - live and learn!

Verdict - I'm beginning to think that I'm just not the right shape for this style.  Yes, it now fits.  No I did not tug at it.  But overall, it's just not ... I don't know what.  May-be if I wore a belt...  May-be if I stood like a statue and didn't move ...  Perhaps a fabric that's less stiff... Let's just say, that I'm in no rush to make another one of these.

Thursday, May 24, 2018

Wacky stripes again

Yet another "let's just use up this fabric" project.  It's a very lightweight, super stretchy knit.  Who knows what the fiber content is.  I just saw wacky stripes on the "ends" table and I had to have them.  Unfortunately, due to my immediate infatuation with the stripes, I failed to notice that there were strange rusty spots all over the back side of the fabric.  (Note to self:  regardless of how amazing the fabric looks, feels, etc. - always, always check it over for flaws, spots and other undesirables.)  Needless to say, I had no immediate project in mind for the stripes, so this piece languished for quite some time.  Only when I was laying out the fabric on my cutting table, did I notice the spots.  That did not exactly make  cutting out stress-free.
So - once again, Pamela's Patterns to the rescue.  I cut the top of my t-shirt pattern, hacking it off at the waist -as well as setting the centre front 1 inch from the fold.
I learned to draw on my pictures!! 
Wrong sides together, I stitched a - you guessed it - a 1 inch pleat down the front.  That gives a bit of stability for all those buttons down the front.

The skirt is my garden variety A-line, except that at the last moment I decided to add a little more "kick" to the front and back.

Actually managed to more or less match the stripes on all 4 skirt seams.  Sleeves are at three-quarter length.  I also sewed elastic to the waist seam.  Even though I will always wear this dress with a belt, I've found that the elastic keeps the waist where it should be and makes everything hang better.
You'd think that a dress would pretty well eat up a whole piece of fabric, particularly one where major spots had to be avoided, but no - there's still enough left for (probably) another whole dress.  How much of this stuff did I buy???
And here's the requisite picture of me wearing the dress.
As always - thinking back - perhaps I could have-should have done something more interesting with the sleeves, or added some other details.  On the other hand - it looks as I imagined it.  With fabric that's not an easy sew - super-stretchy thin knit - perhaps one easy detail (the pleat with buttons) is all that it needs.

Tuesday, May 8, 2018

Outfit for the top

Remember that boring cream top that didn't pop?

It now has an outfit that it belongs to.  The outfit doesn't pop either, but ...

It all started with the skirt, actually.  I was bored with winter fabrics back in early March (?) , and I was rooting around for something or other in the fabrics cupboard.  My hand pulled out this blue rayon challis, or should I say the remains of the blue rayon challis (previously used for contrast on a robe).  Well, I thought, it won't take but 5 minutes to cut out a summer skirt and perhaps if I cut out a summer skirt I won't feel so depressed over the cold weather, because I'll be feeling as though I'm making a move toward Spring weather.  I even sewed up the skirt.  (Just a very basic, boring self-drafted A-line.)  Didn't help me to feel any less depressed about the weather.  But that was done.  Then along came the tops challenge and I thought that this would be a great opportunity to make a top to go with this skirt - not that my closet necessarily needs any more cream or off-white tops - they just seem to multiply on their own around here.  Well, two pieces do not an outfit make, and as I'm always freezing, the sleeveless top needed a cardigan - with sleeves.

Enter - yet another leftover - cotton sweater knit - just enough to make a cropped cardigan with short sleeves.  I really would have liked them to be 3/4 sleeves, but - severe fabric shortage and all that.  These come right down to my elbows.
I chopped my Pamela's Patterns Twinset pattern at the waist.  Added an extension to the front to allow for the cross-over.
In case somebody actually wants to copy this - I extended the front by 4 inches - all that my fabric piece would allow.  If you're bigger than I am, you might want to extend by a bit more.
The front edges were just serged, turned  and stitched.  Added a "waistband" with buttonholes and buttons.

That's two pieces of "scrap" used up and it seems that one day very soon it might actually be warm enough for me to wear the new outfit.  And it looks as though I need to find an accessory with a little bit of pizazz to elevate this outfit from humdrum.

Monday, April 30, 2018

Tops that pop


This is going to be short and sweet (or at least as short and sweet as my usual runaway jabber will allow).

I missed the deadline to sign up for Faye’s 2018 Tops That Pop sew-along.  My son was visiting (a once-a-year occurrence) and somehow that took precedence over keeping up with what’s going on in the sewing world.  But – that wonderful lady Faye contacted me and bent her rules and I was in!  I knew that I could manage at least one top – something that was already percolating in the brain.  Something that I would actually need if the weather ever gets warm enough for me to wear sleeveless – or at least sleeveless with a topper.  (At the moment I’m feeling as though I’m destined to live out the year as an icicle.)  Here’s what I made – not exactly a top that “pops”, but – I got it done – picture sent off to Faye yesterday.  It’s Kwik Sew 2976 – sewn several times – no fitting and fussing necessary.


Last night I decided to really “wind myself up” (i.e. challenge myself?) to see if I could actually produce another top before the deadline.  Something very, very easy.  It’s self-drafted – kimono sleeve – actually drafted for a woven, but now made up in a knit.
The fabric was exactly 17 inches of 60 inch wide fabric.  Stripes were a little bit wonky in the printing, which didn’t make laying out the pattern all that easy, but with a little fudging I did manage to get the stripes to line up on the final product.  One problem to solve was the distinct lack of length.  I had a cropped top.  I am definitely not a candidate for wearing cropped tops. Luckily there was a wide-ish strip of unprinted fabric on the edge which was just the right size to split in half and add to front and back.  No more cropped top.  Narrow hems all around.

So, thanks to Faye’s generosity I now have two new tops for summer.  And I actually participated in a sew-along!  Whether I will actually get to wear these tops any time soon – time will tell.

Saturday, April 28, 2018

Cropped pants

It all started with a pair of wool trousers that needed to be shortened … a little bit.  I’d made them long enough for higher heels, and that was back when anything shorter than hems grazing the floor just wasn’t right.  I don’t wear heels of great height all that often anymore, hence the need to shorten.  Now, it seems that pant hems can fall just about anywhere – depending on your wishes.  Well, nothing to lose – an old pair of trousers.  If they fall out of fashion, it won’t be the end of the world.  The hems got chopped off at calf length.
Turns out that this length is perfect for winter around here.  No long hems to drag through the snow and salt and the inevitable puddles in parking lots.  Perfect for climbing over snowdrifts when walking to work through a blizzard.  (When it takes less time to walk to work in the morning than shoveling out the driveway to be able to drive, I opt to walk and deal with the driveway after work.)  Anyway – I was quite happy with my decision to chop.  But one pair of cropped trousers just isn’t enough.  And skirts in blizzards aren’t such a brilliant idea, so in fairly quick (or not so quick) succession I managed to produce two more pairs.
The grey fabric is of indeterminate lineage.  Feels like wool.  Warm like wool.  But when I ran it through the washer and dryer it behaved perfectly.  Mystery fabric from a mystery source.  Only problem – not enough for full-length trousers and … a stain that hadn’t disappeared in the wash and could not be cut around.  Much thinking ensued.  I laid out the pattern so that the stain fell near the side seam with the idea that I would bring the pants-in-progress to work and embroider over the stain.  Unfortunately, shops tend to get busy when you least expect, and there just wasn’t ever time for embroidering on pants.  Then on a Saturday night I got it into my head that I absolutely had to have the grey cropped trousers for Monday morning.  Embroidery by hand would have to do.
First a circle to hide the offending spot, then a few more circles to keep that one company.  Circles on their own looked kind of sad, so - a few lines of stitching to sort of tie things in.  Well, that was one more pair for the closet (and for climbing over snowdrifts).
And then I thought a black pair in wool suiting wouldn’t be amiss.  These are lined.
Fake cuffs, which made the insides a nice clean finish, and no hand sewing necessary. 
And two buttons on the waistband, just because every so often you just have to mix things up a bit.  Sorry – nothing particularly creative about these.
All three pairs are Vogue 2532.
Sorry - OOP, though they were on the website for years.
These seem to be my go-to pattern for wider leg trousers. Rather boring.  On the other hand – when I want trousers in a hurry, I know they’ll fit.
Sometimes I do manage to get a picture of me wearing the item.

Monday, April 23, 2018

Chimchilla resurrected


I have no idea where March went, and here it is well beyond the middle of April, and despite my plans and goals, life seems to have its own ideas.  Nevertheless…

Though it seems that everyone is busily sewing up garments for the warm weather that is promised… bear with me while I stick with winter wear.  We did still have snow falling one week ago, and this coat most certainly was in use.

Chimchilla (and no, that is not a misspelling!  What else do you call imitation chinchilla?) was purchased years and years ago at the Creative Festival in Toronto.   It almost didn’t get purchased.  I drooled over it pretty well first thing when I got there.  A rather expensive purchase for first thing in the day without first having a look around to see what else there was to drool over.  So later in the day, still on budget, and being absolutely sure that nothing else was as necessary as that imitation fur, which is the softest most wonderful thing I had ever seen, I was back at the same stall, only to find that there was no more chimchilla.  However, the very kind gentleman had apparently taken a gamble that I would be back and had put the remainder of the roll under the table just for me!  How could I possibly not buy whatever was left on the roll?   And so, in fairly short order I made a coat.  (Not all fabrics around here lie around for decades.)  Chimchilla as lining.  (Sorry, I forgot to mention, the pattern is Vogue 7806 

– I’m not even going to check – it is very definitely OOP, but it is the absolute easiest coat that I have ever sewn.  And it is such a loose fit that it couldn’t possibly need alterations for fit.)  Unfortunately, I used a fairly thin wool that I had in stash for the outer layer.  After quite a few years of wear and tear, and a number of trips to the cleaner’s, the coat became rather sad looking.  The fault was with the wool, not the chimchilla.  And so the coat hung in the closet for some years while I tried to sort out what to do.
I looked for replacement wool.  Somehow, spending a fair bit on refurbishing an old coat just didn’t sit right with me.  Well, that, and I was really dragging my feet about it, because ripping apart and remaking just isn’t my favourite thing to do.  In January I finally took the plunge.  I ripped apart the two layers, washed and dried Chimchilla.  It looked absolutely new.  Even the bits around the edges that had looked a bit worn, popped back into shape.  See, part of the feet dragging was the fear that this remake was not a matter of simply sewing up a new outer layer and sewing it to the existing chimchilla lining, but that I would have to do something about hiding the worn edges.  (Sometimes it really does not pay to overthink things – making mountains out of molehills and all that – because in my mind I had turned this into some sort of impossible project, when in fact it was not that at all.)  So - lining ready to go, but there was still the issue of what to use for an outer layer.  First place to look, before this turned into yet another marathon of “Oh – there’s nothing out there that could possibly work!”, was fabric at home.  And lo and behold – a beautiful piece of velveteen purchased from Distinctive Sewing Supplies many moons ago.  I had originally thought to make it into pants, but on second thought decided that it was too heavy for pants, and there it lay – enough for pants – not quite enough for anything else.  Problem solved – add a piece of black upholstery velvet for a back yoke – and we have enough fabric for a short coat.


You know that I couldn’t just leave it at that.   I absolutely had to make things a little more complicated.  And despite the fact that chimchilla is quite warm – I wanted a really, really warm coat.  Underline the velveteen in wool!  Brilliant idea.  And just because this somehow had turned into a “save the planet” project, and I was feeling quite awful about having to throw away a very, very worn old wool blanket that was far too thin for any use, the blanket became the underlining.  And since it was so thin, and wanting to droop, I “quilted” all the pieces.

Now nothing will shift inside.  Oh, and of course, with very thick seams now not wanting to behave, there was a fair bit of catch stitching that had to happen.

After all this ado, I really wonder why I managed to drag this out for sooooo long.  This coat has already seen a lot of wear.  It is incredibly warm, even though, perhaps not the most “practical” of coats, because it doesn’t button up “properly”.  I used up “stuff” that had been lying around for far too long.  (Just don’t spread the secret that I’m wearing an ancient wool blanket!)
As to what happened to the “no-good” wool layer that was removed from chimchilla – stay tuned.